Sunday, October 18, 2015

Best Granola Ever!

I never thought I'd be making my own granola.  But I can't rave about it enough. There's just no comparison.
If you've tried my first version, it's killer.  But if you're a dried fruit lover with an extreme sweet tooth like me,  here's one that will become your new go to recipe.

More to come... I like to keep you curious. 


Monday, September 15, 2014

Ketchup Revisted, Make Your Own Homemade

\

It's tomato season again. There's so many, so why not make ketchup again. It was so good last time, I could hardly stomach the bottled stuff when I ran out. So this time, I got serious. I check out what Cook's Illustrated had to say and then revised my recipe yet again. You can be a purist, but I wanted some something sweet and a bit tangy this time. Go ahead, be bold, make ketchup!


Ingredients:  (note: adjust quantities to your desire. This makes about 3 quarts of ketchup)
  • 20 lbs tomatoes
  • 2 large onions
  • 8 cloves garlic
  • 1/2 cup apple cider vinegar
  • 1/3 cup coconut sugar (or other sweetener)
  • 1 can tomato paste
  • 5 tablespoons coconut oil (or other fat)
  • 15 cloves
  • 5 bay leaves
  • 10 peppercorns
  • 3 tablespoons celery seed
  • 2 tablespoons allspice
  • salt to taste
First things first. Get those tomatoes peeled. 
Boil a large pot of water. Core all your tomatoes. 
Using a slotted spoon, place tomatoes in water for up to a minute or until skins split.
Remove with spoon and immediately place in large bowl of ice water. 


Put next batch in boiling water. While waiting, remove skins for first batch. 
Go on like this until all tomatoes are peeled and happy. 


Now get ingredients up to garlic sauteing in half the oil until translucent. 
Add tomatoes and veggie mix to a food processor until desired consistency is attained. 
Return to pot and add vinegar, sugar, and paste.
Saute cloves in oil for 10 minutes to infuse. Remove cloves and add oil to sauce. 

Gather all your seasoning in a cheese cloth and tie with a string. Add to sauce. 
Cook sauce on simmer for a few hours until desired consistency. I simmered mine for 3 hours. Don't forget to stir occasionally. 

Ketchup can be stored in jar in fridge and frozen in zip lock bags. Enjoy ketchup all year round. 


Thursday, July 17, 2014

Hibiscus Sun Tea


I don't know why I haven't whipped up a jar of this already. But when it's 95 degrees outside and you can't take off any more clothes without getting arrested or embarrassing your kids, it's time to brew some tea by sunlight. 
When your body's hot, hibiscus is a natural for cooling off. I added in some of my favorite herbs just because. 

Ingredients:
  • hibiscus flowers
  • chamomile
  • peppermint
  • nettles
  • elderberries
Fill up a large vessel with filtered water. 
Let stand in a sunny place on your porch for 24 hours. 
Filter through a strainer

Wednesday, April 23, 2014

Gluten-Free Brazilian Pao Cheesy Rolls


Success! I never thought I'd be able to bake real rolls again. You know the kind. They are crispy on the outside, soft and light inside. This recipe is the best I've found. An excellent one from Ellen Brown's Gluten Free Holiday Baking. You know when you start baking and think, "Yeah right, these will never look like the picture in the book". Well, they actually did, fluffed up perfectly. You could hear my hoots and hollering from across the house as they rose into perfect little balls of cheesiness. Yes, I used the word cheesiness. And that cheese flavor is even better toasty with some butter. You'll think you died and went to gluten-free heaven. 

Ingredients:
  • 1/2 cup butter (1 stick) 
  • 1/2 cup milk 
  • 1/2 teaspoon salt
  • 2 minced garlic cloves
  • 2 cups tapioca flour
  • 2 large eggs (room temperature)
  • 2/3 cup grated Parmesan cheese
  • black pepper, to taste
I used my new silicone baking mat instead of parchment paper to line a baking sheet. Preheat your oven at 375 degrees. 
Boil ingredients up to garlic, don't forget to stir and don't burn your milk! Then remove from heat and add in tapioca flour. Bring pot back to stove and reheat, mixing the whole time for about 2 minutes. 
Let cool for a few minutes before plopping the dough into your food processor. Use the steel blade, not the bread making blade, and add eggs. Then once incorporated, add cheese and pepper. Mix again. 
Begin making your pao balls. Wet a soup spoon under cold water and drop about a 2 tablespoon amount of the dough onto your baking sheet. Continue. 
Bake for 18-20 minutes. Enjoy warm with butter. 
Can be frozen. 

Friday, January 17, 2014

Thai Salad Rolls - gluten free and vegan!


I've been making salad rolls for years. I used to get them when I was a teenager after school and think how impressive they looked, how much time they must have taken to make, etc. But boy was I wrong! Don't be fooled, although there are lots of steps, these little packages of loveliness are very simple to make. 
I usually prepare a bunch at a time and put them in the fridge for the week to snack on. They usually don't last more than a day! You may use any of the blow listed ingredients. The only necessary ingredients are the rice noodles. And the best way to assemble these is by using the assembly line method. Prep all your ingredients beforehand and then roll away! A great food to make wit the kids as well. 

Salad Rolls:

  • rice paper wrappers (buy in the Asian foods section of the grocery store)
  • thin rice noodles (bean thread noodles can be used as well, same section; grocery store)
  • carrots
  • green onions
  • cucumber
  • mint leaves
  • fresh cilantro
  • shrimp, tofu, or chicken
  • sesame seeds
Sauce:
  • cup creamy peanut butter
  • 1 can coconut milk
  • 1-2 cloves garlic, chopped
  • 1 teaspoon grated ginger, skin removed
  • 1/4 cup honey or other sweetener (adjust depending on your taste)
  • 2 tablespoons apple cider or rice wine vinegar
  • 1/2 teaspoon salt
  • 1/4 - 1/2 cup water


The Rolls:
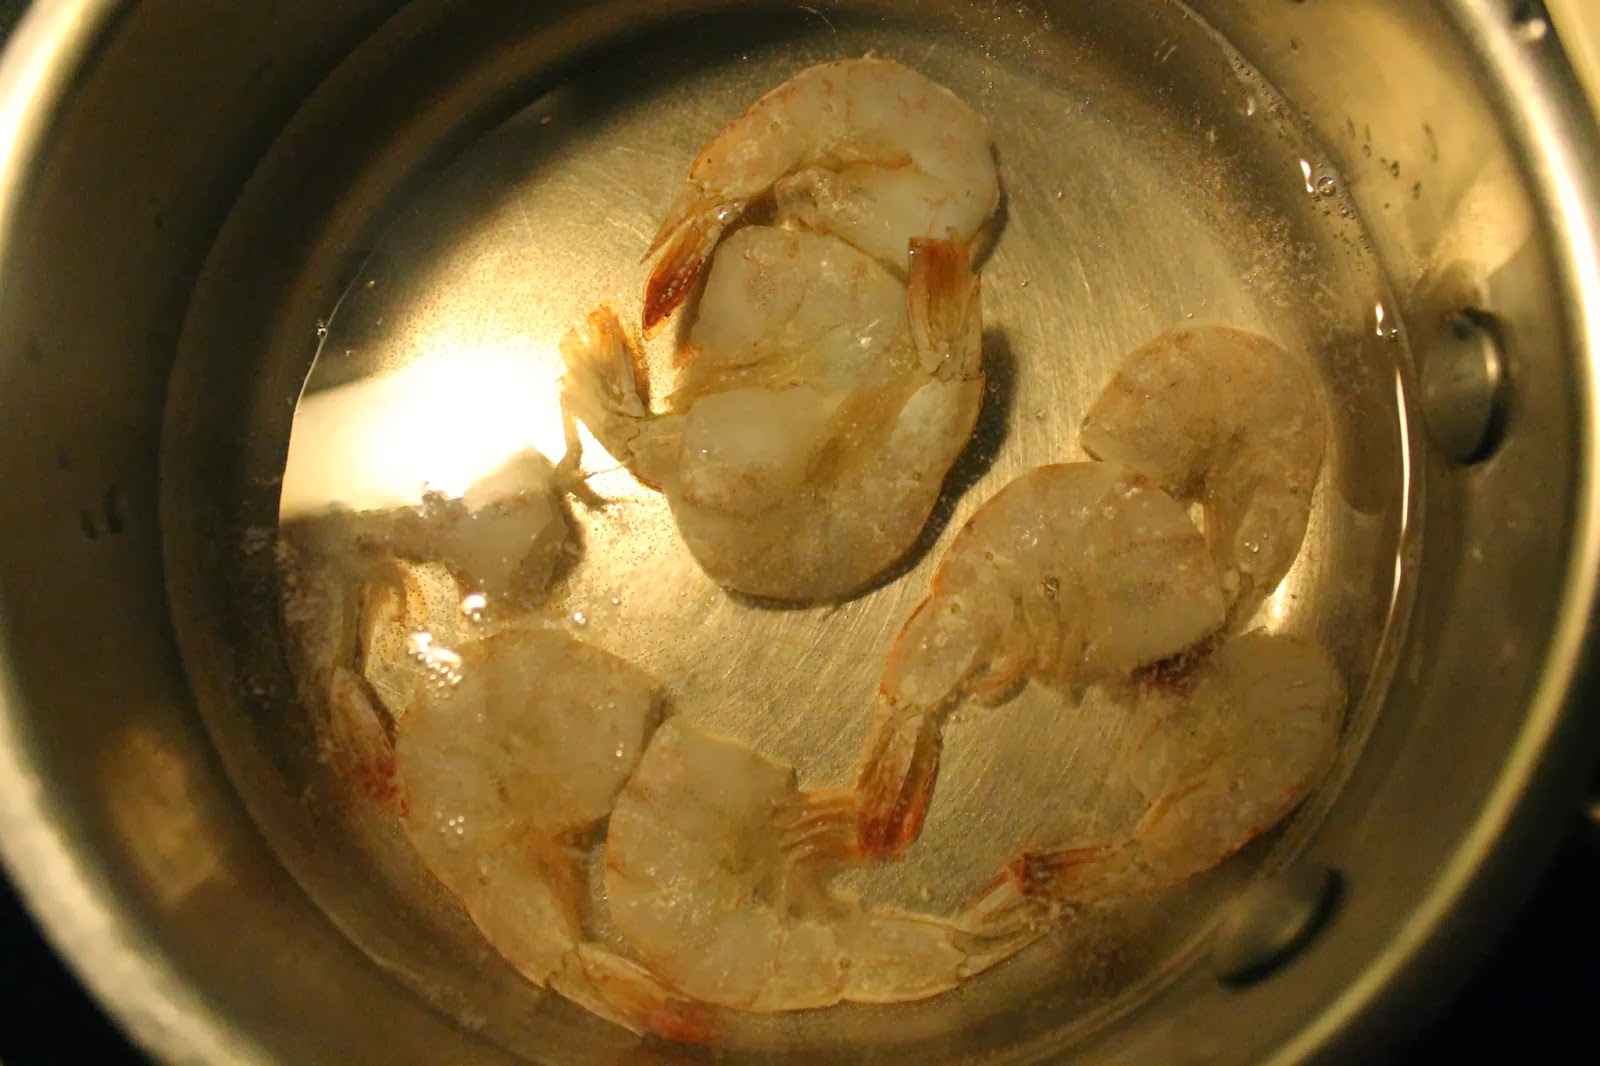
For some reason I always get the shrimp, tofu, or chicken done first. So bring a small to medium pot of water to a boil and drop shrimp in.
Cook for 2-3 minutes. Don't overcook!
While protein is cooking, I place noodles in a medium Pyrex (heat resistant) bowl.
I place noodle bowl in the sink with a strainer on top. Then, drain the broiling shrimp water into the strainer. The boiling water is now used for cooking the noodles in the bowl below.
Leave noodles for 2-3 minutes. Noodles should not be too soggy when you drain the water. If they are, start over. No one likes a soggy  noodle.
Toss very lightly with olive oil so they do not stick together.
Rinse shrimp in cold water to stop cooking process. Peel and cut shrimp lengthwise.
If using tofu or chicken, saute with a bit of say sauce on medium/high heat until fully cooked. Raw tofu is fine too. Cut into strips worthy of being rolled.


Next, prep your veggies for your rolls. 
I like to chop all the veggies into strips. I remove the cucumber seeds to prevent sogginess. 


To assemble, first run the rice paper through running water in your sin, both sides quickly. Place on counter on parchment paper. 
Assembly line time! Start at bottom edge of your rice paper. 
Lay out noodles and then layer as desired. 
Sprinkle with sesame seeds.
Tuck in sides of paper around filling. Now roll tightly! 
Note: wrappers should be very soft, if not, pat warm water on them to soften. 

Sauce:
Prepare the sauce in a small or medium sauce pan. 
Saute grated ginger and chopped garlic for 1 minute. 
Add all the ingredients and simmer on medium heat for 3-5 minutes stirring frequently.
Turn off heat, let cool a bit and either use an immersion blender or a regular blender to obtain a smooth consistency. Place in a small ramekin for serving. Extra sauce will last for a few weeks in fridge. 
Note: I like the sauce cold! 
The rolls can now be eaten. Or wrapped in plastic wrap individually or placed in a zip lock bag. 
Put in fridge and enjoy as ye' will. 


A less than glorious picture of these little bundles of yumminess. I happen to cook mostly late at night, very late! When all the children are sleeping and my mind is racing with good things to cook and more importantly, good things to eat. Down side of course is that pictures don't come out as stunning as they should. My apologies! But once you taste these, I don't think you'll have any complaints.

Friday, January 3, 2014

Pumpkin Custard- gluten free and vegan


I loved chocolate pudding as a child but I realized after the 100 or so cup of pudding that I needed to branch out and try new things. I  had a few cans of pumpkin puree on hand and nothing to do with them. They just stared at me every time I reached for something on my shelves. Until I found these wonderful little pumpkin dishes just asking for something sweet yet savory to pretty them up. Here's what I came up with. 


INGREDIENTS
  • 1 can coconut milk
  • 1 cup canned organic pumpkin 
  • 3/4 cup coconut sugar (you can sub 1/2 cup coconut sugar and 6 drops liquid stevia) 
  • 4 large eggs
  • 1/2 teaspoon salt
  • Optional: 1 teaspoon vanilla 

Preheat oven to 350 degrees.
Now just throw all the ingredients in a blender, mix for about 1 minute until very smooth. You can also use a hand mixer if you like. 
Line a 9 X 13 baking dish with a dish towel and fill with about 1 inch of very warm water. This will help ramekins from slipping.
Pour custard into dished about 2/3 full.
Optional: lightly drizzle maple syrup over tops. 
Place in oven and bake for 40 minutes.
Let sit for at least 5 minutes before serving. 
Enjoy!